Disclaimer: This post contains affiliate links. If you click on one and make a purchase, I might make a little extra spending money, at no extra cost to you. As always, all opinions are my own and these products/services have been found useful during our travels and come highly recommended to you from yours truly!
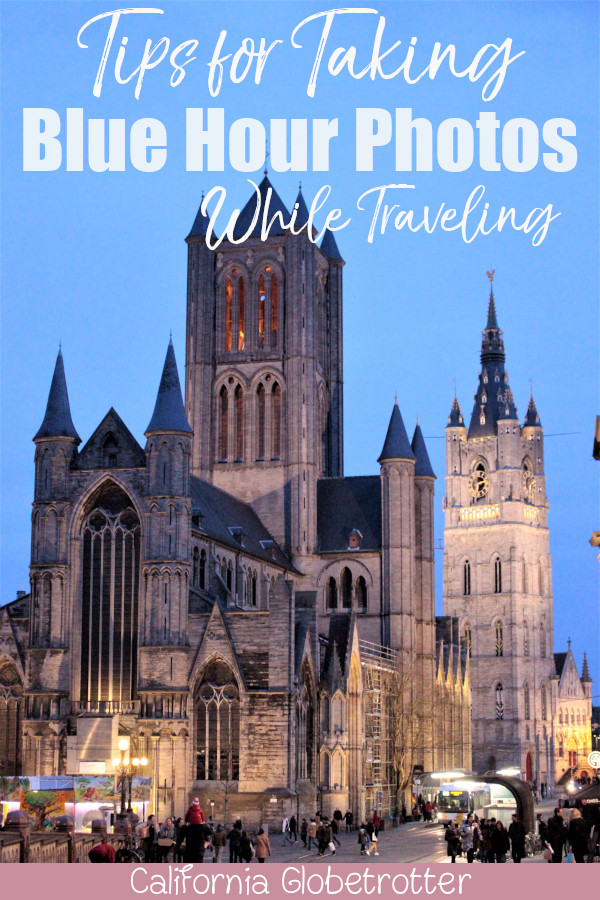
One of my favorite things about traveling is the chance to take pretty pictures. And while you can take a pretty picture allllll day long, for me, there is one time of day that I absolutely love above all else: Blue Hour! Prior to investing in a quality camera, I had never heard of “Blue Hour”, but once I learned what it was, it changed the way I enjoyed the evenings, especially while traveling. So what is Blue Hour and how can you take Blue Hour photos?
Want to Take Blue Hour Photos? PIN IT FOR LATER!!
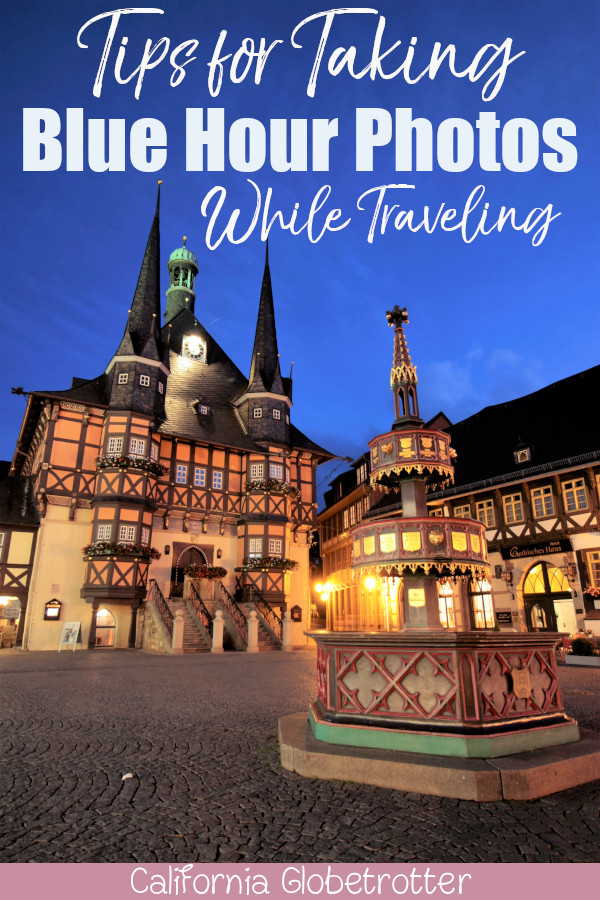
As a beginner photographer, you’ll come to understand that lighting is regarded as the single most important element of photography and it can play a huge role in how your photos turn out. So much of your time taking photos will be spent on figuring out the best time to take photos, especially for outdoor photographers. For example, it’s best to avoid taking photos around noon, when the sun is at its highest, thus creating a harsh white glow, making it difficult for taking photos.
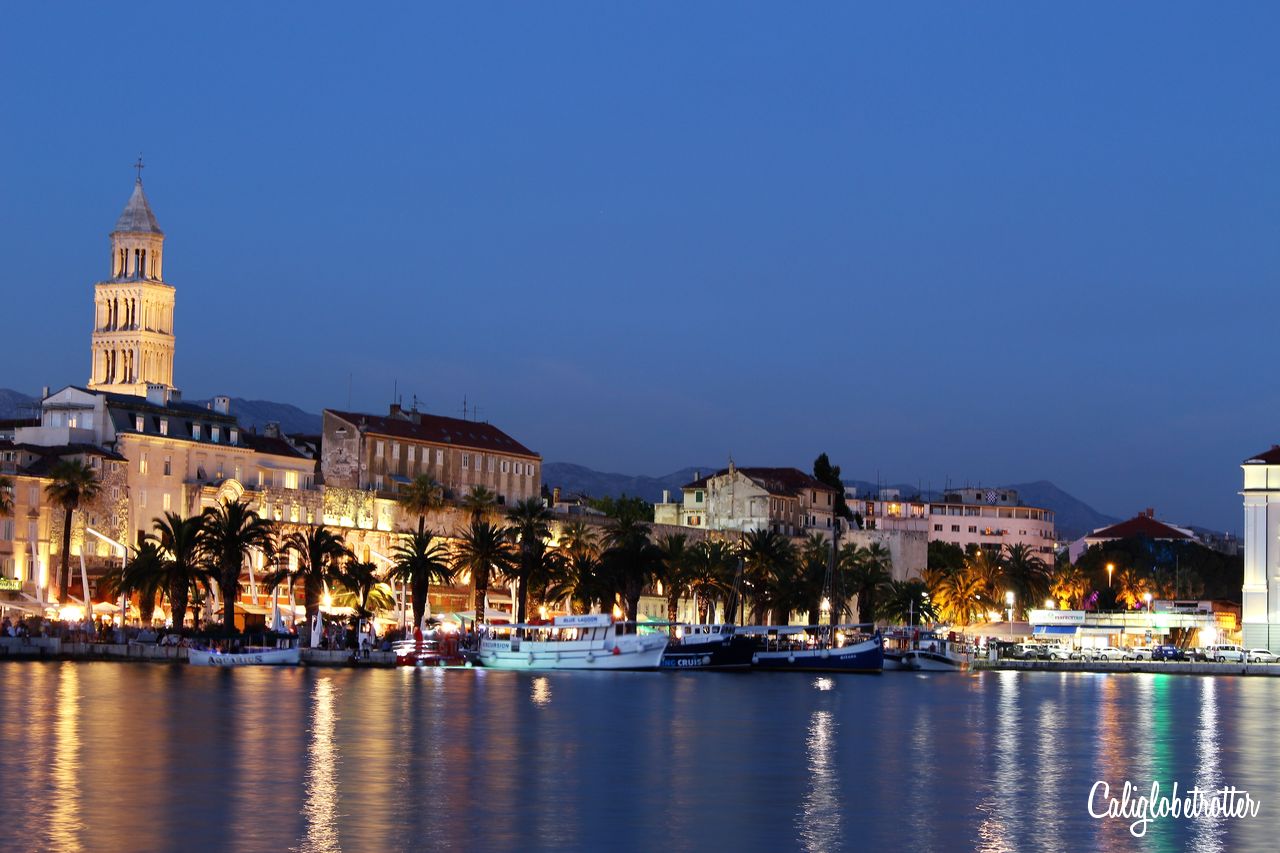
What is Blue Hour?
Just like the the golden hour, blue hour happens twice a day, occurring directly before sunrise in the morning and just after sunset in the evening, thus is very closely related to the golden hour.
It’s a complex and moody period of the day, affecting the sky in shades of deep and rich blue, which comes when the sun is at a significant depth below the horizon, causing indirect sunlight to take on a variety of shades of blue. This period of blue hour light differs from the natural light which we see every day on a clear, blue day.
Because of the unique time of day, many photographers take advantage of both the golden hour and the blue hour, setting up their photography equipment to prepare for an array of photos, changing ever so slightly as the sun rises or sets.
Related: Wernigerode, Germany
Related: Piran, Slovenia
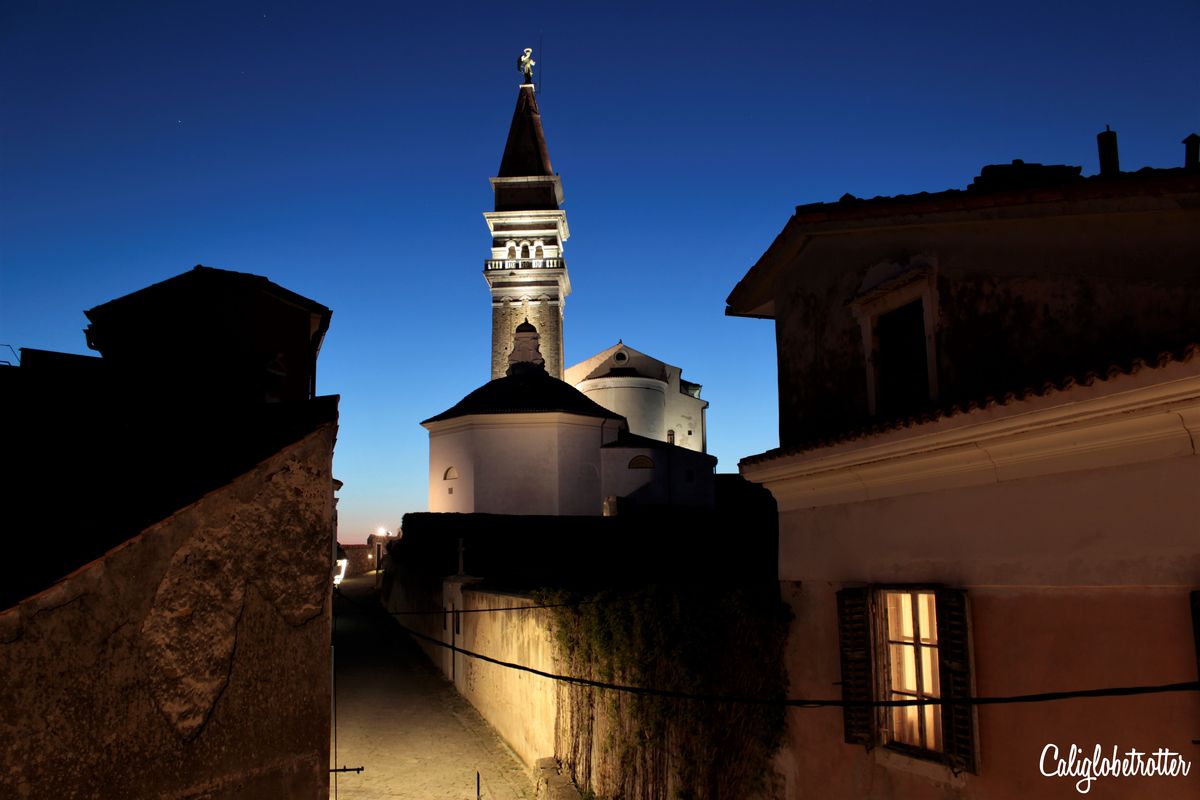
What to Photograph during Blue Hour
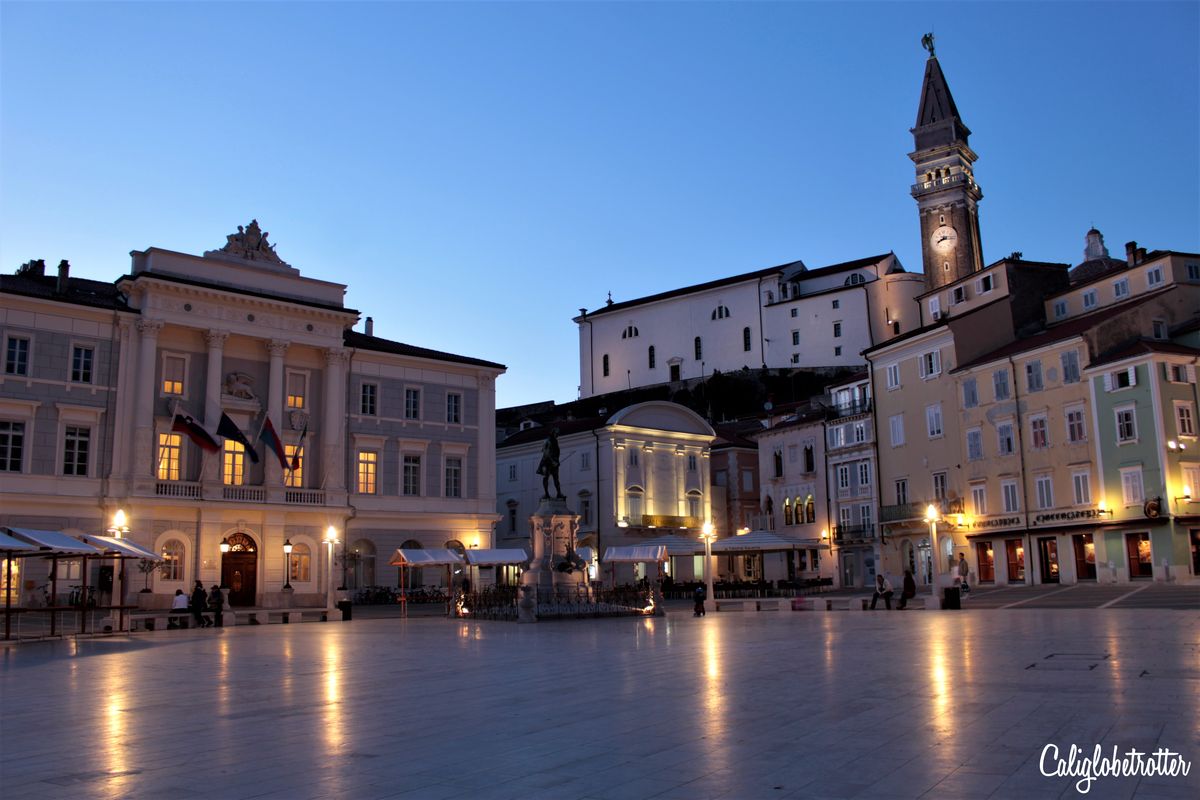
The best thing to take photos of during blue hour are outdoor imagines, for example, cityscapes and landscapes. The effect blue hour has on cityscapes is particularly powerful, especially with the added charm of street lamps and building lights, bringing in a different element to your photographs compared to during the day. It’s truly incredible to see the difference between a photo taken during the day as compared to during blue hour.
It’s best to find a realtively quite place to take photos, for the simple fact that if there is a lot of commotion going on, they may turn into blurred images in your photos. It’s ok if a few people walk through your photo, so long as they are moving at a rather fast pace, but should they stop in the middle of your photo, they too will be in your photo.
Almost everywhere I have ever been offers a pretty unique take on blue hour, so I always bring my camera gear with me, especially if I know I will beout sightseeing late, therefore, I plan in advance where I might want to take any blue hour photos. I find myself a cozy little spot that I can claim as my own, though you’ll also often see photographers walking around with their cameras still attached to their tripods, moving here and there to get different angles, but respect that like you, they are trying to get the same photos, so try not to stand in front of them, but instead you’ll see that they all respectively line up at the same distance.
Related: Ghent, Belgium
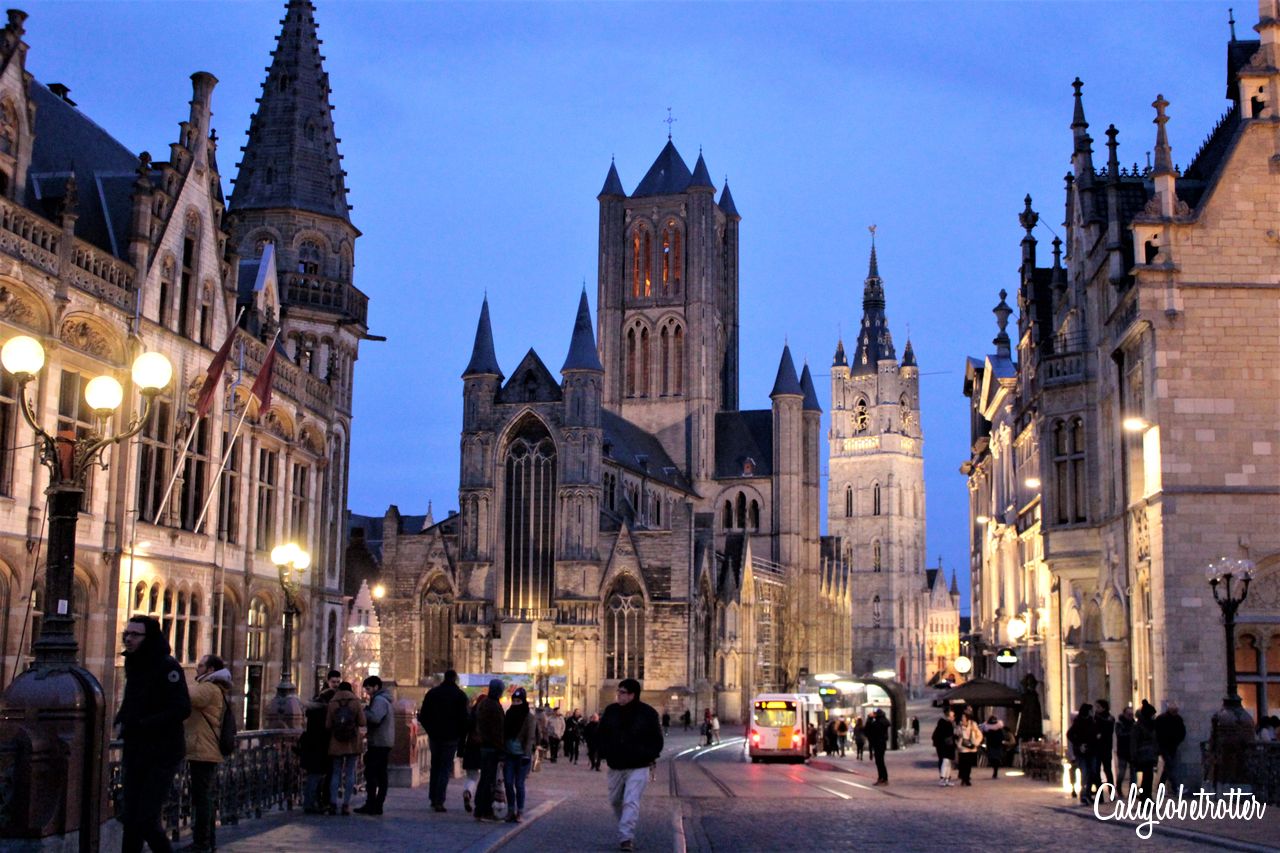
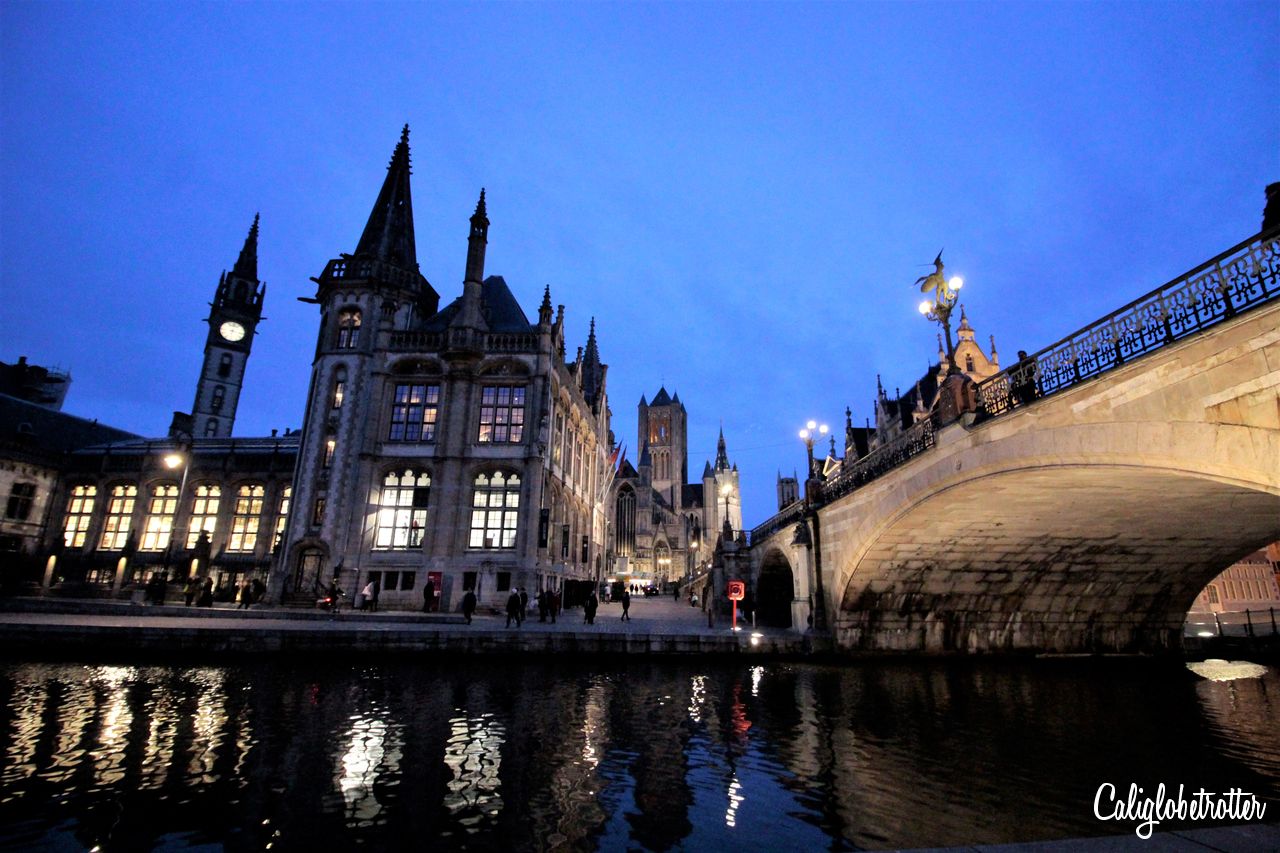
Where to take Blue Hour Photos
Blue Hour photos can be taken anywhere in the world, in any city or landscape! You are not limited to where you can take photos! Be creative while traveling and look for unique spots to best capture the Blue Hour light! I promise, those photos will likely be some of your favorite photos from your holiday!
Take photos from along city banks, towers, buildings and viewing platforms! The world is your oyster and there are no limits to taking blue hour photos while traveling!
Photography Equipment for Blue Hour Photos
Tips for taking blue hour photos include investing in a tripod. This is the crucial piece of equipment, as you’ll be taking photos at a much slower exposure and therefore, your camera must remain as steady as possible to prevent any blurring from holding the camera with your hands.
Though, if you’re a beginning photographer and haven’t invested in all the equipment you need yet, then you can simply do it the poor man’s way and set your camera on a flat surface, with something to hold up the lens, thus preventing your camera from moving.
Below is the camera equipment I have, from the Canon EOS camera I have to the variety of lenses, as well as our tripod and a filter to help reduce the light coming in.
 | Canon Rebel SL3 with 18-55mm Lens Black Price: $649.00 The newest version of our camera: When we finally upgraded from my lousy pocket Olympia camera, we opted for this lightweight DSLR Canon camera which came with the standard 18-55mm lens. It fits comfortably in my small hands and has a good grip. The photos are always top notch! |
 | Canon EF-S 55-250mm F4-5.6 IS STM Lens for Canon SLR Cameras (Certified Refurbished) Price: $139.95 Immediately upon purchasing our camera, we opted to first invest in the a lens that could zoom with impeccable quality. I whip this baby out anytime I want to focus on small details or zoom in from a distance. |
 | Canon EF-S 10-18mm f/4.5-5.6 IS STM Lens Price: $249.00 An investment that was well worth the wait! If you want to get more into your photo, then consider investing in a wide lens! This lens will alter the way you take photos and allow you to get large massive buildings, beautiful landscapes and more into your photo without struggling to get everything into the frame. This lens has honestly become my main lens! |
 | Cullmann NEOMAX 220 Light Travel Tripod with Telescopic Extension for Camera – Black Price: $43.17 When we got serious about our photography and wanted to have better stability while taking pictures, we invested in this portable, adjustable tripod. This allowed us to hake better long exposure photos, especially for night photos. It’s also great to have for taking photos of the two of us instead of asking a stranger to take terrible photos of us. Now we never leave the house without it! |
Find Out the Local Sunset Times
It’s important to understand the different terms of day light, so let’s clarify this first.
In chronological order, SUNSET comes first, followed by around 20 or so minutes of TWILIGHT, before DUSK. NIGHT occurs once dusk is over, which is much darker.
How can you find out when sunset is, just visit timeanddate.com for a more in-depth answer to any city in the world.
However, for a simpler estimate, simply check your weather app on your phone for sunset. Prepare to be in your desired location and set up your equipment so that as soon as the golden hour begins, you will be ready. I do this for every city I visit, no matter what I’m doing and if we can manage to find a good location, or be outside at that specific time, we always try to take blue hour photos while traveling.
Just aim for the last 10 minutes of dusk, right before nightfall. The first 10 minutes between sunset and dusk is still a bit fickle and thus not as “ripe for the picking” as compared to the latter 10 minutes. It’s at this time that building lights and street lights start to turn on, and the beautiful bluish hues are at their best. Then start clicking away! Click Click Click!
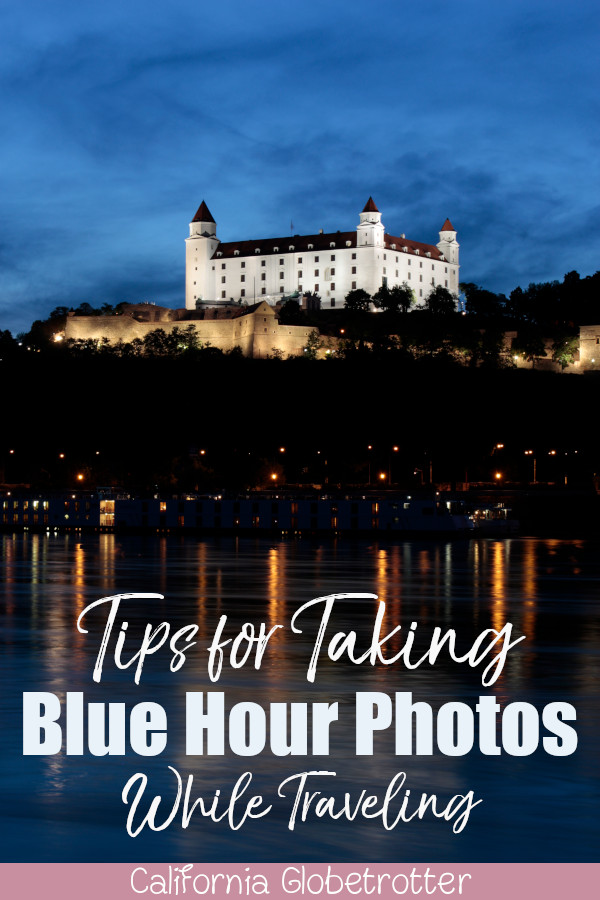
Related: Bratislava, Slovakia
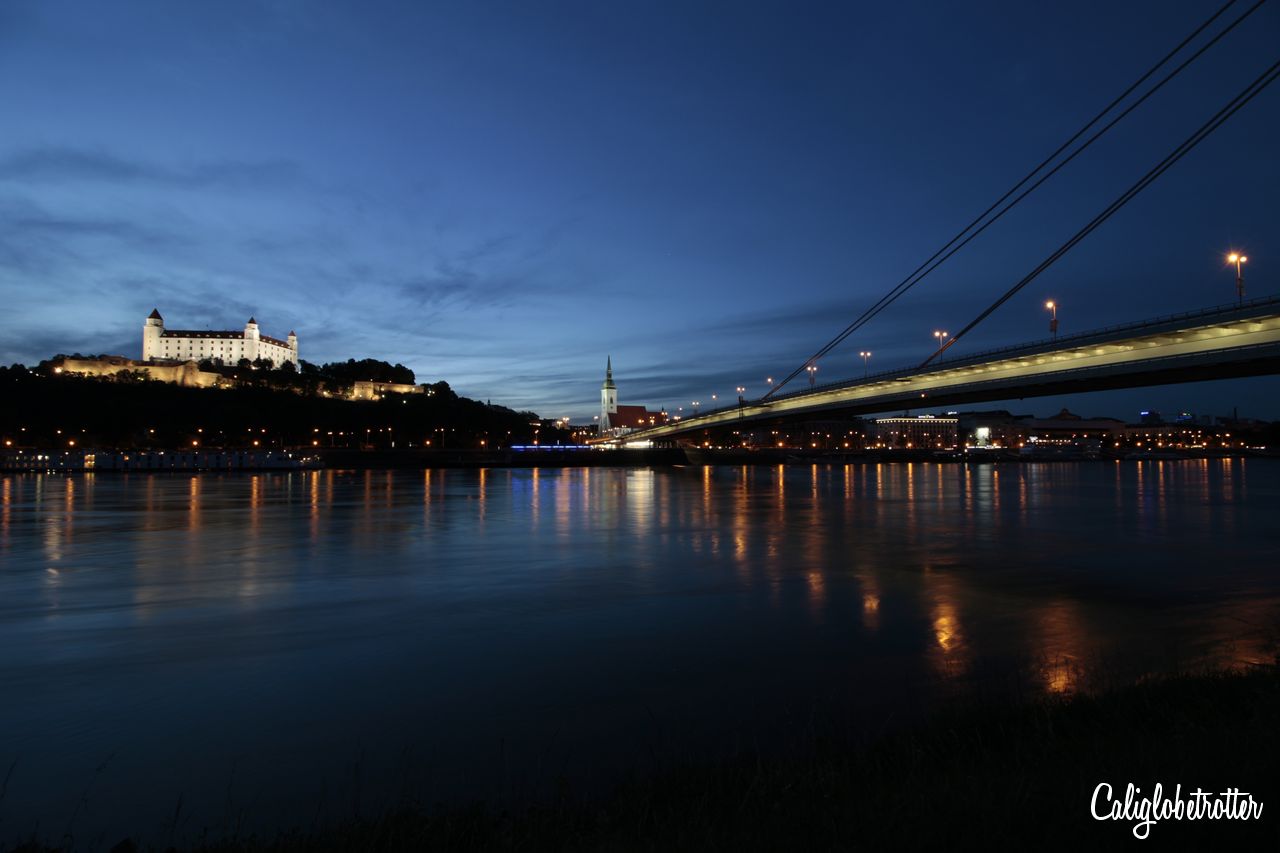
When is the best time to take blue hour photos, you might ask? If the weather is realitively clear day, with just a few clouds. If it’s too cloudy or gloomy, chances are that the blue hour won’t be quite as potent as a clearer day. And chances are, you’ll likely pick up more of the foggy atmosphere than the actual blue hour.
Related: Vienna, Austria
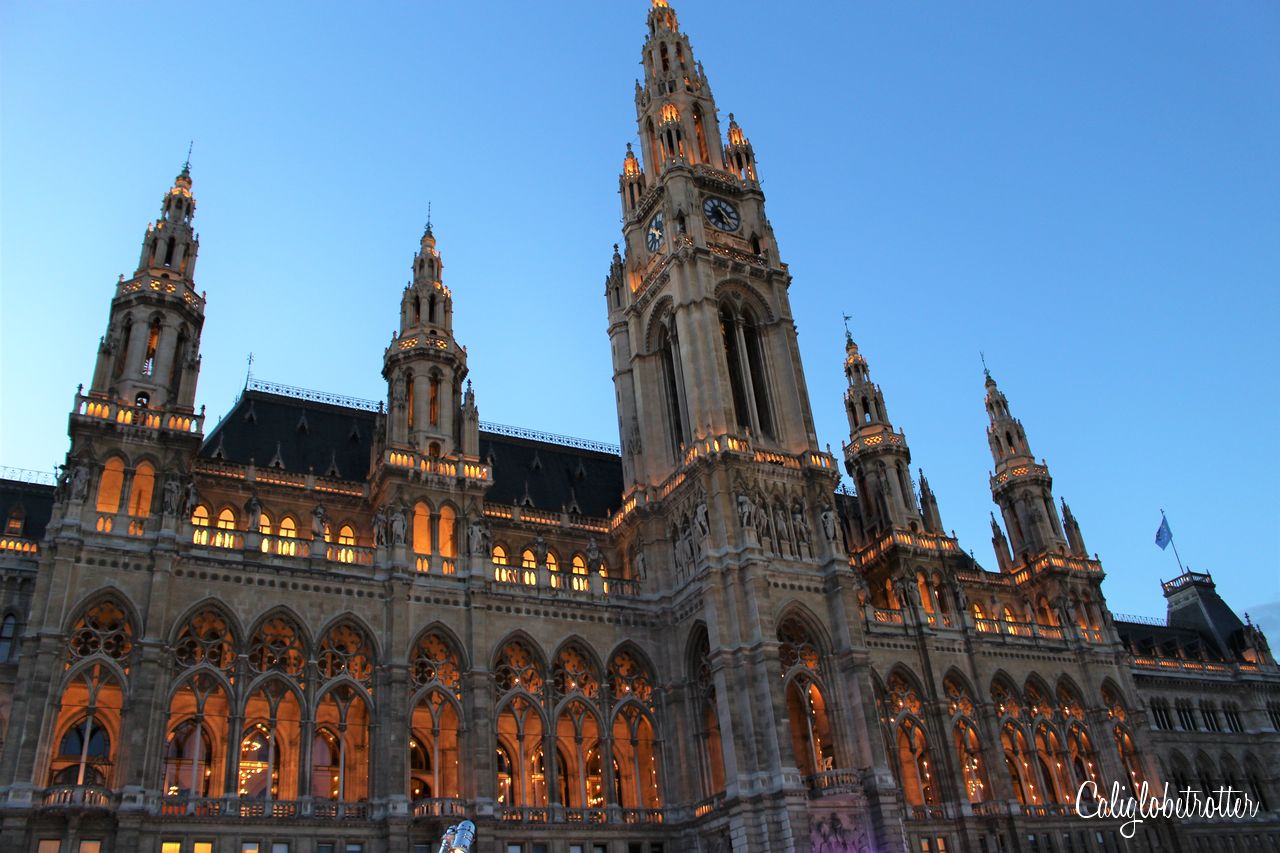 How to Take Blue Hour Photos
Because of the limited available light which occurs at blue hour, this allows the shutter speed of your camera to naturally get longer, especially when using a small aperture. Therefore, set your camera setting to Aperture Priority mode, switch to a higher f-stop number, for example f/13 which will help to smooth out flowing water and help with cloud effects.
Related: Salzburg, Austria
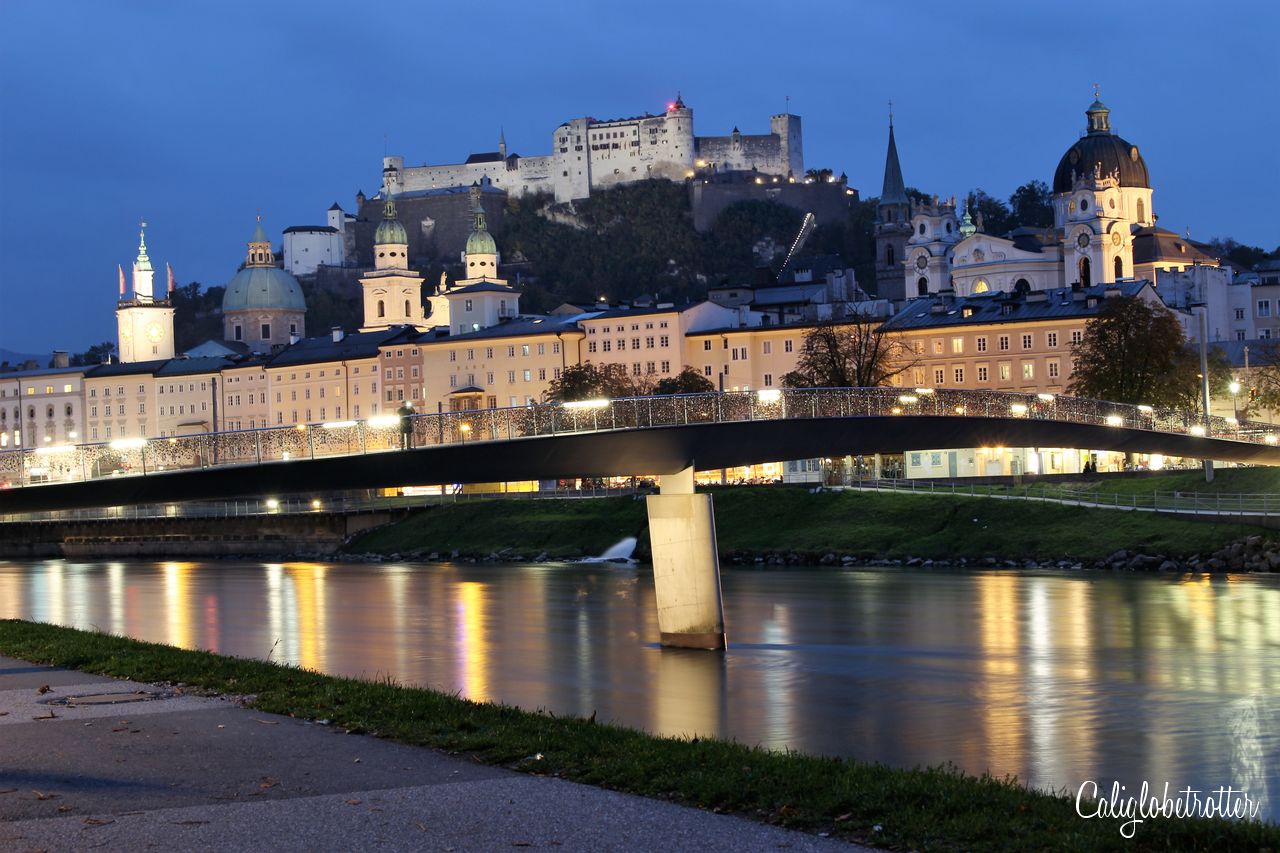
Overall,
You have a mere 10 minutes to enjoy blue hour, which happens at the end of dusk and is over in a blink of an eye. Therefore, if you plan on taking blue hour photos while traveling, it’s vital to be prepared to go to take advantage of the entire 10 minutes, and you really won’t even mange quite so many photos as your camera will be taking photos at a much slower pace, therefore reducing the amount of photos you can get in 10 minutes.
Related: Regensburg, Germany


Other Travel Tips Posts:
15 Things to Do When You Travel
Road Trip Essentials: EVERYTHING You Need for a Successful Road Trip
Your COMPLETE Guide to Using the DeutscheBahn
How to AVOID Looking Like a Tourist
Your ESSENTIAL Guide to Europe
Love these travel tips? PIN IT FOR LATER!!.




Such beautiful photos! These are great tips. I love this time of day, in general, and think that it can create some amazing photos. #feetdotravel
Thank you! Thanks for stopping by!
I LOVE blue hour, it is also one of my favourite times of day to take photos. There is something so simplistic about this hour of the day, yet photos turn out absolutely stunning. A couple of instances for me off the top of my head are sunrise at Angkor Wat, and any time that involves pretty lights such as Christmas time or city scapes. Great post, thanks for sharing your awesome tips! #feetdotravel
I’d love to see Angkor Wat at sunrise and get some of those famous silhouettes!
I LOVE blue hour, it is also one of my favourite times of day to take photos. There is something so simplistic about this hour of the day, yet photos turn out absolutely stunning. A couple of instances for me off the top of my head are sunrise at Angkor Wat, and any time that involves pretty lights such as Christmas time or city scapes. Great post, thanks for sharing your awesome tips! #feetdotravel
Cityscapes and landscapes look stunning during blue hour! I´ve never taken pictures during those 10 min intentionally! Will definitely try it now – thanks for the inspiration! Aperture Priority mode – noted!